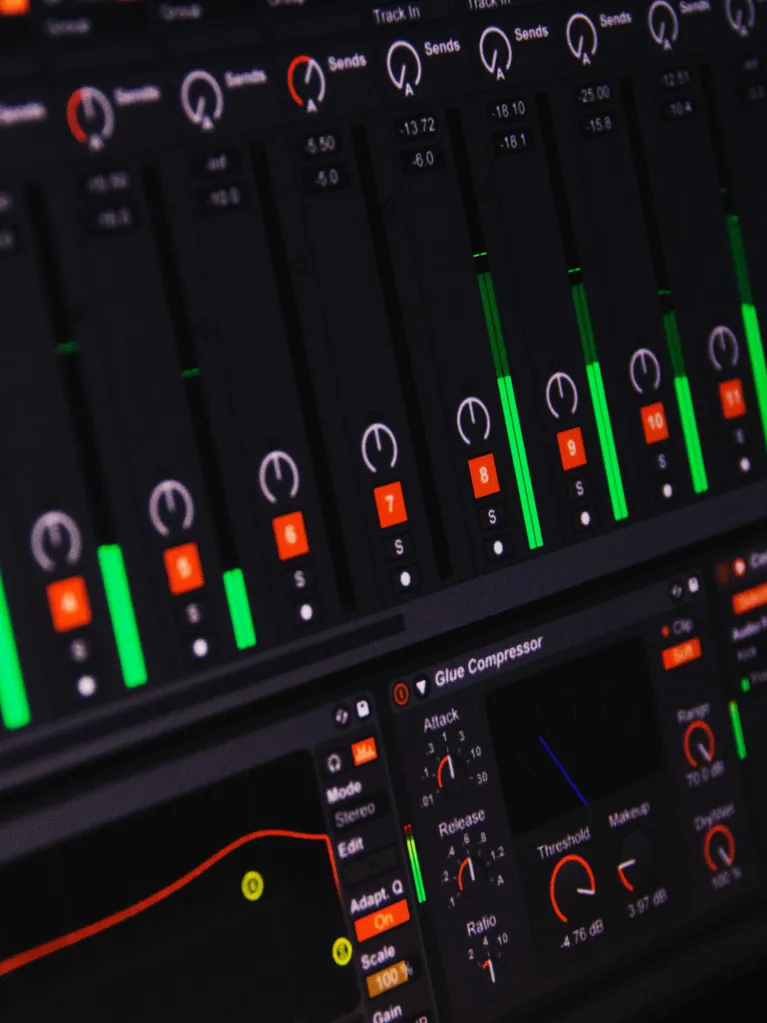
Two of the most recognised programs software tools used by our staff and students at JMC, Ableton and Pro Tools are pitted against each other by Alumni Dom Petranovic, who will claim victory?
Based on MIDI Functionality, Recording Audio, Audio Processing, User Interface, Editing Features and Value for Money, we're determining which tool will take the cake! Before we begin, please keep in mind that these and most other D.A.Ws work similar to each other and the below comparison is based on my experiences over the last 2 years with over 200 hours of using both applications.
Let’s say you’re just starting out as an audio engineer or producer, which D.A.W should you purchase?
The first thing you’re going to notice will be the price tags (Updated as of 2021)
- $659 for Ableton Live Standard Version 11, or $503 for Standard Version 10
- $390 for Avid’s Pro Tools 1 Year Subscription Paid Upfront or you have the option to pay monthly at $29.99 USD
Tight on cash? Here are some other effective tools
The next big factor to consider is your computer memory (Hard Drive Space) and processing power (RAM) you have available?
Below we've compared Ableton (Left) and Pro Tools (Right) Specs.jpg.aspx)
Although Pro tools require a lot more RAM, it does take up less Hard-Drive space. Ableton takes up more memory because it offers you the options to install a wide variety of extra sounds & instruments (specifically synthesizers for lovers of MIDI & electronic music productions).
Ableton

Pro Tools

In terms of which software is better, unfortunately, there is no answer. Most D.A.Ws work similar to each other and it really comes down to personal preference in how its user interface & workflow makes sense to you. However, some D.A.Ws are preferred for specific tasks & situations more than others.
Pro Tools
Referred to by most as the “industry standard”, audio recording & mixing in Pro Tools is easy & fun, be it in the studio or on the go. Although the MIDI and post-processing aspects could be a bit more intuitive, audio recording, mixing & mastering is where this D.A.W shines. Pro tools offer loop-recording functionality making it very easy to record & store multiple takes. It has come a long way in terms of performance, user interface & functionality. The interface grows on you with practice and can be daunting to beginners but after a few tutorials & some time, it will all make sense.
Some key & unique features of the software below:
- Offline bouncing: Exporting/bouncing a track up to 20 times faster than real-time!
- Low Latency Input buffers allow you to monitor tracks without hampering plugin performance.
- Improved interface & audio engine for a faster & easier workflow.
- Score editor (for those who prefer sheet music or are classically trained)
- Tempo Changes without altering the pitch of a sound (with elastic audio)
- Elastic audio + pitch – Accurate warping/transposition of audio.
- AutoSave function (Tell Pro Tools how often you want it to automatically save your projects in case it or the computer crashes).
- Beat detective – Detect transients & realign (quantise) audio to be in time with the tempo / to beat grid lines. (Good for automating a drummer)
Ableton Live
The simple & stable performance gives this D.A.W points in workflow & speed. As the name suggests “Live” is its speciality with performance, processing & triggering samples. Automation & audio manipulation is easy with a lot of tools made accessible with a single button click. Ableton Live is also a challenge to begin with due to its unique layout & colour scheme but with some guidance from tutorials or videos, it all makes sense quickly. If you’re ever lost or curious as to what a button, feature or function does there is a help/dialogue box on the bottom left corner of your screen that describes how it works as you hover your mouse over it. In the words of 1 of my lecturers, “If you’re ever lost, when in doubt – Right Click!” This will open up a menu with the available options you can perform on this field.
Some Unique & Key features are listed below:
- Anything on screen can be mapped to a hotkey and further mapped to an external controller.
- Simple Audio to MIDI Conversion & vice-versa along with other time-consuming task made easy with a click of a button.
- Transposing (re-pitching) audio made easy with a single dial on your chosen audio clip.
- Fast & easy access search function to sort through samples & plugins.
- Quick search function to find any sound, effect or plugin.
- Helpful dialogue box open & ready to teach you what a function does.
- Plugins, effects & windows are always within your sight or put away with an arrow tab.
The Bottom Line
Have a go at the trial or demo version of both applications before making a purchase if you’re starting out. Again I heavily emphasise that each D.A.W can be used to perform similar tasks but would recommend Pro Tools for studio work, recording bands/instruments and mixing audio. Ableton Live I would recommend more so for Electronic Music, either as performing with samples & MIDI or producing Electronic tracks due to the functions and fast workflow.
Top 5 shortcuts for each Application
Ableton Live: (CMD or CNTRL/Mac or PC)
CMD + SHIFT + ‘U’ = Quantise Menu.
CMD + ‘T’ = Insert Audio Track.
CMD + SHIFT + ‘T’ = Insert MIDI Track.
CMD + ‘L’ = Loop Selection.
CMD + ‘E’ = Split Clip / Section.
Pro Tools: (CMD or CNTRL/Mac or PC)
CNTRL + SHIFT + ‘N’ = New Track
CNTRL + ‘F’ = Create Fades
Shift + ‘S’ or ‘M’ = Solo or Mute
‘B’ = Split Clip / Section
CNTRL + SHIFT + ‘L’ = Loop Playback


